

Ever opened your fridge and thought, ‘I wish my favorite photos could hang out here instead of sitting in a drawer?’
You’re not the only one; we all love seeing a smile or a travel snap every time we grab a snack.
Good news: making photo magnets at home is surprisingly simple and needs barely any special tools.
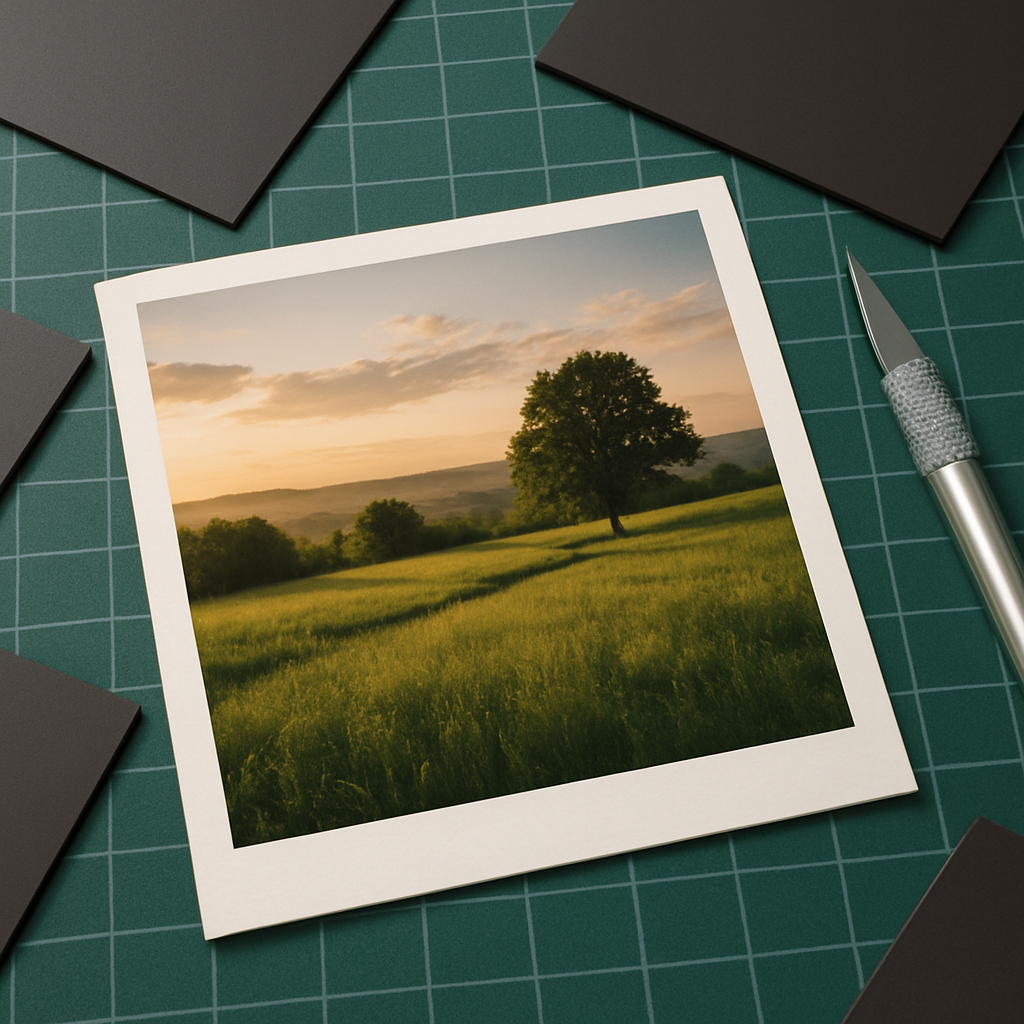
First, pick a picture that truly makes you happy—maybe that goofy beach selfie or the candid of your puppy mid‑play.
Next, decide on size; a 2‑by‑2 inch square fits most fridge doors, but you can go larger if you have room.
You have two easy material options: adhesive magnetic sheets you cut to size, or printable magnetic paper that lets the photo be the front side.
If you use adhesive sheets, simply peel the backing, stick the trimmed photo onto the sticky side, and press firmly to avoid bubbles.
For printable magnetic paper, run the sheet through an inkjet printer, let the ink dry, then trim to your chosen dimensions.
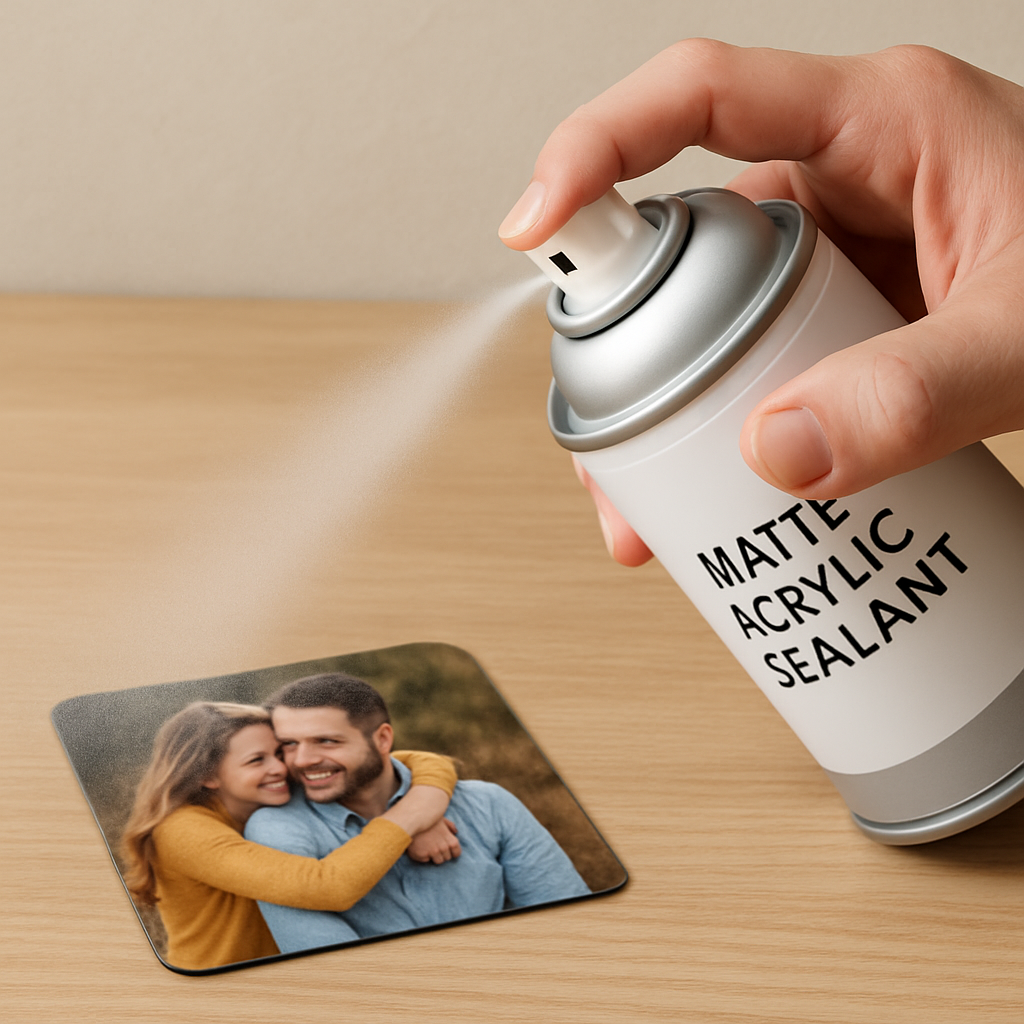
A quick tip: spray a light coat of clear sealant on the photo side to guard against kitchen humidity and fading.
Now attach the magnet side to the back of your picture, or if you printed on magnetic paper, it’s already attached—just press it onto the fridge.
Common hiccups include using glossy photo paper that won’t stick well and cutting too close to the edge, which can expose the magnet.
Imagine reaching for a cold drink, glancing at that tiny magnet, and instantly remembering that sunny day—simple, personal, and right at your fingertips.
So, are you ready to turn your digital memories into magnetic moments that brighten your kitchen?
You’ll love how easy it feels, and proud.
Grab a few photos, gather the supplies, and let’s start creating magnets that capture your story.
TL;DR
Learn how to make photo magnets at home with simple steps, using adhesive sheets or printable magnetic paper, plus tips to avoid common hiccups in minutes.
You’ll finish with durable, personalized fridge magnets that brighten your kitchen and keep memories in sight, all without pricey services, for any occasion today.
Materials & Tools
Alright, let’s talk about what actually lands on your kitchen counter when you decide to make photo magnets. It’s not a rocket‑science lab, but having the right stuff makes the whole thing feel slick instead of a sticky mess.
Essential Materials
First up, the photo itself. If you’re pulling a favorite snap from your phone, print it on a matte‑finished photo paper or a laser‑jet sheet – glossy paper tends to repel the adhesive and leaves bubbles. I love using a standard 4" × 6" print; it fits nicely on most fridge magnets and leaves a little border for trimming.
Next, the magnetic side. You have two solid choices:
- Adhesive magnetic sheets – a thin, flexible sheet with a peel‑back backing. Cut it to the same size as your photo, stick the image on the sticky side, and you’ve got a ready‑to‑go magnet.
- Printable magnetic paper – you run it through an ink‑jet printer, print your image directly onto the magnet, then cut. It’s a bit cleaner because the photo and magnet are one piece.
Both options cost under $0.20 per square inch, so you can experiment without breaking the bank.

Tool Checklist
Now, the tools that turn raw material into a polished magnet.
Cutting device: A precision craft cutter (like an X‑Acto knife) works for a few pieces, but if you’re planning a batch, a rotary cutter or a cheap guillotine paper trimmer saves time and gives clean edges.
Adhesive applicator: A small roller or a flat brush spreads the glue evenly. If you’re using adhesive sheets, you won’t need extra glue – just press firmly to avoid air bubbles.
Protective sealant: A clear spray sealant (matte or gloss) shields the photo from kitchen humidity. One quick spritz on the printed side, let it dry 15 minutes, and you’re set. I’ve found a simple acrylic sealant works perfectly and is safe around food‑prep areas.
Hot‑glue gun: For attaching a separate magnet to the back of a photo, a cordless hot‑glue gun with a fine tip gives just enough grip without spilling over the edges.
Optional but game‑changing: Mod Podge (or any clear decoupage medium) if you want a glossy finish that also acts as a mild adhesive. It’s especially handy when you’re working with glass beads or other non‑paper backs. Mod Podge’s versatile finish is praised by crafters for its durability.
Pro Tips & Real‑World Examples
Here’s a quick checklist you can print and stick next to your workspace:
- Print photo on matte paper; let it dry 5 minutes.
- Cut magnetic sheet to match photo dimensions.
- Apply a thin layer of sealant; dry 15 minutes.
- Press photo onto magnetic side, smoothing out bubbles.
- Trim excess with a rotary cutter.
- Optional: Add a splash of Mod Podge for extra shine.
Example 1: A mom wanted a set of “first‑day‑of‑school” magnets for each child. She printed 3 × 3 inch photos, used adhesive sheets, and added a quick coat of matte sealant. The result? Durable magnets that survived a year of fridge door traffic without peeling.
Example 2: A small business owner turned wedding favors into a profit stream by printing 2 × 2 inch photos on printable magnetic paper. He batch‑printed 200 sheets, cut them with a guillotine, and packaged them with a tiny thank‑you note. The whole operation cost under $0.30 per magnet.
And remember, don’t over‑glue. A thin layer of hot glue or Mod Podge is enough; too much makes the magnet heavy and can cause the photo to warp.
So, what should you do next? Grab a photo, head to the nearest craft store, and pick up a sheet of magnetic backing and a small bottle of clear sealant. You’ll be surprised how quickly the pieces fall into place.
Give yourself a five‑minute “prep” window, then jump in. The first magnet you make will feel like a tiny trophy, and each one after that will be even more satisfying.
Step 1: Choose Your Photos
Before you even think about cutting magnetic sheets, the real magic starts with the photo you pick. That moment when you scroll through your phone and a picture makes you grin for no reason? That's the one. If the image doesn’t spark a feeling, the magnet will feel flat on the fridge.
First‑hand rule: choose photos that are high‑resolution and have a clear focal point. A 300 dpi image printed on matte paper gives crisp details without the glare that a glossy finish would throw back at you. If you’re pulling from Instagram, download the original file instead of the compressed thumbnail – otherwise you’ll end up with a blurry magnet after you seal it.
Here’s a quick checklist you can tape to your workspace:
- Resolution ≥300 dpi
- Good lighting, minimal shadows
- Simple background that won’t clash with fridge colors
- Emotional connection – a smile, a milestone, a funny pose
Real‑world example: Sarah, a busy mom of three, wanted a daily reminder of each kid’s first day of school. She filtered through 200 photos, kept the ones where the kids were looking straight at the camera, and discarded any with school‑bus backgrounds because the blue would blend into her stainless‑steel fridge. The result was a set of three bright, focused magnets that still get a giggle each morning.
If you prefer a theme, group photos by color palette or event. For a summer‑vacation collage, pick shots where the sky is blue and the sand is golden; the uniform hue makes the magnets feel intentional rather than random. A wedding photographer I know prints 2 × 2‑inch portrait shots of the bride and groom in matching pastel tones – they look like tiny, elegant postcards on the fridge.
Don’t overlook orientation. Landscape photos work great on a wide refrigerator door, while portrait ones fit nicely beside a spice rack. If you’re mixing sizes, keep the biggest image centered and let the smaller ones orbit around it – think of a mini‑gallery that guides the eye.
Now, a practical step‑by‑step for pulling the perfect file from your phone or computer:
- Open the photo in your editing app (Photos, Lightroom, etc.).
- Crop to a square or the shape you plan to cut; leave a ¼‑inch border for trimming.
- Adjust brightness/contrast so the subject stands out; avoid heavy filters that mask details.
- Export at 300 dpi or higher, preferably as a PNG or high‑quality JPEG.
- Save the file to a folder called “Magnet‑Project” so you can batch‑process later.
If you’re still unsure which photos will translate best onto a magnet, check out our How to Choose and Create Personalized Photo Fridge Magnets That Stand Out guide for extra inspiration.
Finally, give yourself a five‑minute “preview” window: open the image on your computer, zoom to 100 %, and imagine it glued to a fridge door. If the composition feels cramped, go back and crop a little more – it’s easier to fix now than after you’ve sealed the magnet.
Step 2: Print the Photos
Alright, you’ve picked the perfect snap – now it’s time to turn that digital file into something you can actually stick on the fridge. Printing might sound like a boring “run to the printer” step, but trust me, a few mindful tweaks can make the difference between a magnet that looks like a museum piece and one that looks like a rushed school project.
Choose the Right Paper
First thing’s first: ditch the glossy photo paper if you’re planning to use adhesive magnetic sheets. Glossy finishes love to repel glue, and you’ll end up with air bubbles that scream “I tried.” A matte‑finished photo paper or a heavyweight laser‑jet sheet gives you a non‑shiny surface that the adhesive loves. I usually go for 200‑250 gsm matte paper – thick enough to feel substantial, but still easy to cut.
Pro tip: if you have a home ink‑jet printer, load the paper in “photo” mode so the printer spits out a richer color palette. That extra saturation shows up nicely once you seal the magnet.
Resolution and DPI Matter
We all know “high‑resolution” sounds fancy, but what does it really mean for a 2 × 2‑inch magnet? Aim for at least 300 dpi when you export the file. Anything lower will start to look pixelated when you zoom in, and those little jagged edges become obvious once the magnet is on a white fridge door.
If you’re pulling the image from a phone, use the “export original” option rather than the compressed thumbnail. A quick check: open the file, hit “Properties” (or “Info” on a Mac), and verify the dimensions are at least 600 × 600 px for a 2 × 2‑inch print.
Print Settings to Lock In Quality
Set your printer to “best quality” or “photo” mode. Yes, it takes a bit longer, but the extra time is worth the sharper colors and smoother gradients. Disable any “auto‑enhance” or “smoothing” features – you’ve already done those tweaks in your editing app, and you don’t want the printer to over‑process the image.
Don’t forget the border. Leaving a ¼‑inch margin around the image gives you room to trim without cutting into the subject. Think of it as a safety net for those tiny mis‑cuts.
Real‑World Example: The Busy Mom
Sarah, a mom of three, wanted a set of “first‑day‑of‑school” magnets. She printed each photo on 210 gsm matte paper, set the printer to 300 dpi, and let each sheet dry for five minutes before moving on. The result? After attaching magnetic sheets, the magnets survived a full school year – no fading, no peeling, and the kids still brag about them every morning.
Batch Printing for Efficiency
If you’re making a dozen or more magnets, treat the printing step like a mini production line. Create a folder called “Magnet‑Batch,” drop all your exported files in there, and print them in one go. Once the stack is out, let it sit for at least ten minutes – the ink needs time to set, otherwise the sealant later will cause smudging.
While you wait, prep your cutting mat and ruler. Having everything laid out saves you from hunting for tools when the ink is still tacky.
Seal the Deal Before You Cut
Before you slice the prints, give them a quick protective coat. A light spray of matte acrylic sealant (just a thin mist, no heavy drench) will lock in colors and add a moisture barrier – crucial for kitchen environments. Spray from 12‑inches away, let it dry 15 minutes, then move on to cutting.
Here’s a quick checklist you can tape to your workbench:
- Print on matte 200‑250 gsm paper.
- Export at 300 dpi, 600 × 600 px minimum.
- Set printer to “photo/best” mode, no auto‑enhance.
- Leave a ¼‑inch border for trimming.
- Let prints dry 5‑10 minutes.
- Apply a light matte sealant, dry 15 minutes.
Follow those steps, and you’ll end up with crisp, vibrant images that look great under any fridge light.
So, what’s next? Grab your favorite photo, fire up the printer, and give those pixels a physical home. Once the prints are ready, we’ll move on to attaching the magnetic side and sealing the final product.
Step 3: Prepare the Magnet Backing
Now that your prints are sealed and waiting, it’s time to give them something that will actually cling to the fridge. Think of the backing as the “feet” of your magnet – if the feet are wobbly, the whole thing falls flat.
Choose the right magnetic sheet
There are three popular options for DIY photo magnets:
- Full‑coverage flexible fridge magnet sheets – a smooth black surface that sticks to any metal.
- Adhesive magnetic paper – a thin sheet with a sticky side you can peel off.
- Clothing‑magnet strips – designed for fabric, but they’ll work on metal if you need a slimmer profile.
Most crafters swear by the full‑coverage sheet because it gives a uniform hold and a nice matte look on the back. The clothing‑magnet option is handy if you ever want a magnet that can double as a nametag on a shirt, but keep in mind it’s a bit less magnetic on a fridge surface.
Want a quick comparison? Check the table below.
| Magnet Type | Thickness | Best Use |
|---|---|---|
| Full‑coverage fridge sheet | 0.5 mm | Standard photo magnets, strong hold |
| Adhesive magnetic paper | 0.3 mm | Thin‑profile projects, easy peel‑and‑stick |
| Clothing magnet strip | 0.4 mm | Fabric tags, occasional fridge use |
Cut the magnet to match your photo
First, measure the printed image. A 2 × 2 in photo needs a 2 × 2 in magnet piece, plus a tiny ¼‑inch bleed if you want the edge to wrap a little. Use a self‑healing cutting mat, a fresh ruler, and a sharp craft knife.
- Lay the magnet sheet on the mat, printed side down.
- Align a ruler with the top edge of your photo.
- Score lightly with the craft knife, then press firmly to cut through.
- Flip the piece, check the corners – file any ragged bits with a fine‑grade sandpaper.
Pro tip: If you’re making a batch, stack a few magnet sheets together and cut them all at once. It saves time and keeps the cuts consistent.
Bond the photo to the magnet
Most people reach for a craft glue, but the glue you choose can make or break the magnet’s durability. A clear, waterproof adhesive works best. One crafter I know swears by a glue called “Glossy Accents” – it dries clear, stays flexible, and doesn’t smudge the ink if you heat‑set the image first (see the tip below). That recommendation comes from a seasoned DIYer who’s tested it on glass‑gem magnets in a detailed blog post.
Apply a thin line of glue along the back of the photo, then carefully press the image onto the magnet. Use a ruler or a piece of cardboard to smooth out air bubbles from the center outward.
Don’t forget to let the glue cure for at least 20 minutes before you handle the magnet. If you’re in a hurry, a quick‑dry formula can cut that time in half, but always test a small corner first.
Heat‑set the printed image (optional but worth it)
If you printed on an ink‑jet printer, the ink can stay a little tacky. A gentle heat‑set helps lock the pigments in place so they won’t smudge when you apply glue. Place the photo (face down) between two clean white sheets, then run a no‑steam iron over it for 10–12 seconds. No need to move the iron – just press and lift.
Or, if you have a heat gun, a quick pass on low heat does the trick. You’ll notice the colors look a shade richer afterward, and the glue adheres better.
Final quality check
Before you call it a day, flip each magnet over and run your fingertip across the back. It should feel smooth, with no glue residue or rough edges. If you spot any uneven spots, a quick dab of extra glue and another press will smooth things out.
And there you have it – a sturdy, eye‑catching magnet ready to hang on the fridge, locker, or even a metal office board.
Next up, we’ll talk about sealing the whole thing so the colors stay vibrant for years. Ready?
Step 4: Assemble & Seal
Now that your photo and magnetic backing are happily married, it’s time for the final handshake: assembling everything together and sealing it for the long haul.
Grab your freshly glued magnet, a clean piece of cardstock or scrap paper, and a soft‑bristled brush. The brush will spread a thin veil of sealant without dragging the image.
Why seal at all? Think of a photo magnet as a tiny souvenir that lives in a kitchen full of steam, fingerprints, and occasional splashes. A protective coat keeps the colors from fading and the glue from softening.
We recommend a matte acrylic sealant because it dries clear, stays flexible, and won’t add unwanted gloss that could reflect kitchen light.
Step‑by‑step sealing
1️⃣ Spray a light mist from about 12 inches away. Hold the can steady – you want a fine fog, not a river.
2️⃣ Let it sit for 10–15 seconds so the droplets level out. If you see any runs, give them a quick swipe with the brush.
3️⃣ Flip the magnet over and repeat on the back. The back seal protects the adhesive side from moisture and keeps the magnet from losing its bite.
4️⃣ Allow a full cure – at least 30 minutes for a matte finish, or an hour if you used a glossy product. Resist the urge to stack magnets while they’re still tacky; you’ll only smear the seal.
Pro tip: If you love the mini‑pallet look, you can use the same mod‑podge sealant on the wood strips before you attach the magnet. The Instructables guide shows how a simple top coat of mod‑podge locks the image in place and adds a durable shield.
Now that the seal is dry, give each magnet a quick tactile check. Run your thumb over the surface – it should feel uniformly smooth, without any tacky spots.
If you notice a tiny bubble or a speck of dust, a second ultra‑light coat will smooth it out. Just wait another 10 minutes and you’ll be good to go.
- Seal front and back with matte acrylic.
- Allow full cure time.
- Inspect for smoothness.
- Store magnets flat, away from direct heat.
And that’s it – your photo magnet is now sealed, sturdy, and ready for daily applause on the fridge.
Troubleshooting common sealing hiccups
Sometimes the seal can turn cloudy if you spray too close or if the room is humid. Step back a bit, spray in short bursts, and let each layer dry before adding another.
If the glue underneath starts to ooze after sealing, it usually means the adhesive wasn’t fully cured before you sprayed. Give the magnet an extra 10‑minute wait next time – it saves a lot of rework.
For a glossy finish, a clear polyurethane works too, but remember it adds a slight shine that can make the magnet look more like a commercial product than a handcrafted keepsake.
Finally, store your finished magnets flat in a drawer or on a tray, not stacked on top of each other. Stacking can trap moisture between layers and cause the seal to peel over time.
Now you’ve mastered the assemble‑and‑seal stage, so go ahead and line up those magnets on your fridge. Watch how the colors stay vivid, even after weeks of daily handling.
Tips & Troubleshooting
Now that you’ve glued, cut, and sealed, you might still run into a few hiccups. Don’t worry – these little snags are part of the learning curve when you figure out how to make photo magnets that last.
Seal looks cloudy or streaky?
Cloudiness usually means the spray was too close or the air was humid. Step back a foot, give the seal a quick shake, and spray in short bursts. Let each mist settle for 10‑15 seconds before adding another layer. If you’ve already got a misty finish, a light sand‑paper pass with 400‑grit followed by a second ultra‑light coat will erase most of the fog.
Does the seal feel tacky after 30 minutes?
That’s a sign the cure time was cut short. Matte acrylic needs at least 30 minutes in a well‑ventilated, dust‑free space. If you’re in a rush, turn on a fan or open a window – the airflow helps the solvent evaporate faster without compromising durability.
Glue is oozing or lifting the photo
When the adhesive seeps through the seal, it’s usually because the glue wasn’t fully set before you sprayed. Give the glue a solid 20‑minute cure (or use a quick‑dry formula and test a corner first). A good trick is to place a piece of wax paper over the glued side while the seal dries; it catches any stray droplets.
What if the glue itself is too thin?
Switch to a thicker, waterproof adhesive – think “clear acrylic glue” rather than school glue. A dab of extra glue on the edges, pressed with a ruler, can reinforce the bond without adding bulk.
Magnet isn’t sticking as hard as you’d like
Sometimes the magnetic sheet isn’t fully magnetized, or the surface isn’t clean. Wipe the back of the magnet with a lint‑free cloth and a dab of rubbing alcohol before you attach the photo. If the pull still feels weak, consider layering two sheets together – the extra thickness adds bite without changing the look.
Ever notice the magnet losing its grip after a few weeks?
That’s often moisture trapped between the seal and the magnetic backing. Store finished magnets flat, not stacked, and keep them away from direct heat. A quick “dry run” – flipping each magnet over and feeling for any dampness – can catch problems before they snowball.
Final polish – getting that professional feel
After the seal cures, run a clean fingertip over the surface. It should glide smoothly, no sticky spots. If you spot a speck of dust, a second feather‑light coat of sealant will embed it and make it invisible.
Want a subtle shine without the full‑gloss look? A matte polyurethane top coat gives a soft luster that still protects against kitchen steam.
And here’s a little secret: a tiny dab of clear nail polish on the very edge of the photo can seal any microscopic gaps that the spray missed. It dries fast, stays flexible, and is virtually invisible once you’re done.
So, what’s the next step? Test one magnet on your fridge, give it a good shake, and watch how the colors stay vivid even after a week of kids’ artwork and coffee splatters. If something feels off, revisit the relevant tip above – a small tweak usually solves the problem.
Remember, every mistake is just another data point in your DIY toolbox. The more you experiment, the quicker you’ll nail down the perfect workflow for how to make photo magnets that look as good in a year as they did on day one.
Conclusion
So there you have it – a full, hands‑on roadmap for how to make photo magnets that actually last.
Did you ever feel stuck halfway through, wondering if the seal would crack or the magnet would lose its bite? You're not alone, and every little hiccup is just a clue pointing you toward a tweak.
Take a moment now to test one finished magnet on your fridge, give it a gentle shake, and watch the colors stay vivid even after a week of coffee splatters and kids’ art.
If something feels off – maybe a speck of dust or a faint tackiness – just revisit the quick‑fix steps we covered. A second feather‑light coat of sealant or a tiny dab of clear nail polish usually does the trick.
Remember, each magnet you create is a small piece of memory you’ve turned into everyday art. The more you experiment, the faster you’ll discover shortcuts that keep the process fun and the results reliable.
So what’s the next step? Grab your favorite photo, follow the steps one more time, and let your fridge become a gallery that tells your story for months to come.
Enjoy the pride of handmade magnets and share them with friends.
FAQ
What kind of photo works best for a DIY magnet?
Pick a picture that’s at least 300 dpi so the image stays sharp after you cut it down to size. Bright, high‑contrast shots tend to survive the sealing process better than muted tones. If the photo has a busy background, try cropping to the main subject – it’ll look cleaner on a small fridge square. And of course, choose a memory that makes you smile every time you glance at the fridge.
Do I need special adhesive, or can I use regular glue?
Regular school glue will usually flake off once the magnet gets wet, so we recommend a clear acrylic glue or a spray‑adhesive that’s labeled waterproof. Apply a thin, even layer to the back of the trimmed photo, press the magnet sheet onto it, and let it set for at least 15 minutes before you move on to sealing. A quick test – touch the edge – should feel dry and tack‑free.
How long should I let the sealant cure before handling the magnet?
Most matte acrylic sprays need a full 30 minutes in a well‑ventilated room to reach a hard finish. If you’re in a humid kitchen, give it an extra 10‑15 minutes; the extra time prevents a cloudy film. The surface should feel completely smooth and non‑sticky to the touch. Only after the seal is fully cured should you stack or hang your magnets, otherwise you’ll smear the coating.
Can I use a glossy finish instead of matte, and what’s the trade‑off?
Glossy polyurethane gives a shiny look that some people love, but it also highlights fingerprints and can make the magnet look more commercial than handcrafted. Matte acrylic keeps colors vivid while hiding minor imperfections and is easier to touch‑up with a second light coat. If you prefer a subtle sheen, a satin‑finish spray is a happy‑medium that still protects against kitchen steam.
Why do my magnets sometimes lose their bite after a few weeks?
The most common culprit is moisture trapped between the seal and the magnetic backing. Store finished pieces flat, away from direct heat, and avoid stacking them while the seal is still slightly soft. A quick wipe of the magnet’s back with rubbing alcohol before you glue removes dust that can create a tiny air pocket. If the pull feels weak, try layering two thin magnet sheets for extra grip.
What’s the easiest way to fix a cloudy or streaky seal?
If the first coat looks foggy, lightly sand the surface with 400‑grit paper, wipe away dust, and spray a second ultra‑light coat from a distance of about a foot. Short bursts and a 10‑second pause between sprays let the solvent evaporate evenly. For stubborn streaks, a dab of clear nail polish on the affected spot can seal it instantly without adding bulk.
How can I make my photo magnets last longer than a year?
Combine a high‑resolution image, waterproof adhesive, and a fully cured matte seal. Keep the magnets out of direct sunlight, which can fade inks, and avoid placing them near the oven or dishwasher where steam condenses. Periodically dust them with a soft cloth – no abrasive cleaners – and give the seal a quick touch‑up if you notice any wear. With these habits, your magnets can stay vibrant for many seasons.


